Zyla Developer Center User Guide
Introduction
Zyla Developer Center is a platform for developers and partners to build, test, and launch Zyla products. The platform provides a powerful integration environment for you to access a growing list of applications and resources.
This manual guides you through the integration process and introduces tools to facilitate your integration with Zyla. Please contact Zyla Support Team for help if there is any issue.
Prerequisites
Before performing tasks, ensure that the following prerequisites are ready:
- Zyla account: Create a Zyla account at Zyla Portal.
- Public key: Refer to Configure the sandbox and generate your public key.
- Notification URL: Provide a URL to receive notifications from SPI.
- Company information: Provide a company name, contact person, phone number, and business scope.
Integration process

1. Create an application
Log into the Zyla Developer Center. Click Create a new application. Submit the application information.
Note:
- If you have no idea about which Solution to select, please contact Zyla Support Team for help.
- If you select cashier_payment_solution, the Redirect Page Generator tool helps facilitate your payment integration by simulating a cashier.
2. Configure in the sandbox
Step 1: Configure the sandbox
Zyla implements asymmetric keys to secure your integration. Please follow the steps to generate the public keys:
a. Click the Edit Public Key button.

b. Download Alipay Signature Tool in the Edit Public Key window.
c. Run the Run file to initiate the tool. Here take Windows as an example.

d. Click New in the tool panel to generate a key pair. Copy them.
e. Paste the public key to the Edit Public Key window. Click Submit to complete the configuration.
Step 2: Test in the sandbox
Click iTest under the Tools menu to test your API. See iTest for the instruction.
Search for the error code on Zyla Docs, and troubleshoot the API-specific issue.

3. Perform sandbox acceptance testing
Coming soon
4. Perform production acceptance testing
Coming soon
5. Launch into production
Step 1: Configure the production environment
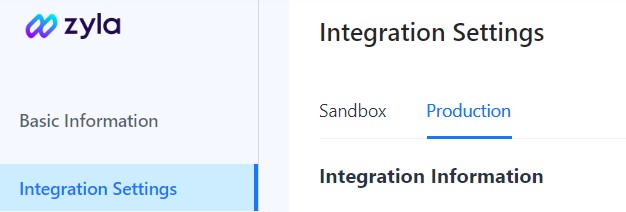
While you configure the production and sandbox environments, they have the same components and processes. So you can switch to the Production tab, and follow the instruction on Configure the sandbox.

Note: The Client ID changes when you configure different environments.
Step 2: Launch your application
At the bottom of the Basic Information page, ensure each task shows the Completed status with a green dot.
Then click Launch to launch your application into production.
Tools
iTest
To create and test an API request, please follow the instructions below:
- Submit the API request:
a. In the Configure Request panel, configure the fields and paste the private key.
b. Enter the Request body.
c. Click Send to submit the API request.
- Check the result in the Response body section.
Redirect page generator
To simulate a cashier, please follow the following steps:
- Generate the redirection URL:
a. Enter the information in the Assembly request panel. Please do not change the order of each parameter.
b. Run the MD5 utility to calculate the HASH value and sign the request.
c. Click Send to generate the URL.
- Click the link and go to the authorization page. Tick the box and click continue.
- Check the result. If it fails, take action according to the result message.
